
Simple Yarn Ball Garland DIY
It's no secret that I love a quick and easy DIY project. When I came across this picture on Pinterest, I knew I wanted to try to recreate the look for our little one's nursery.

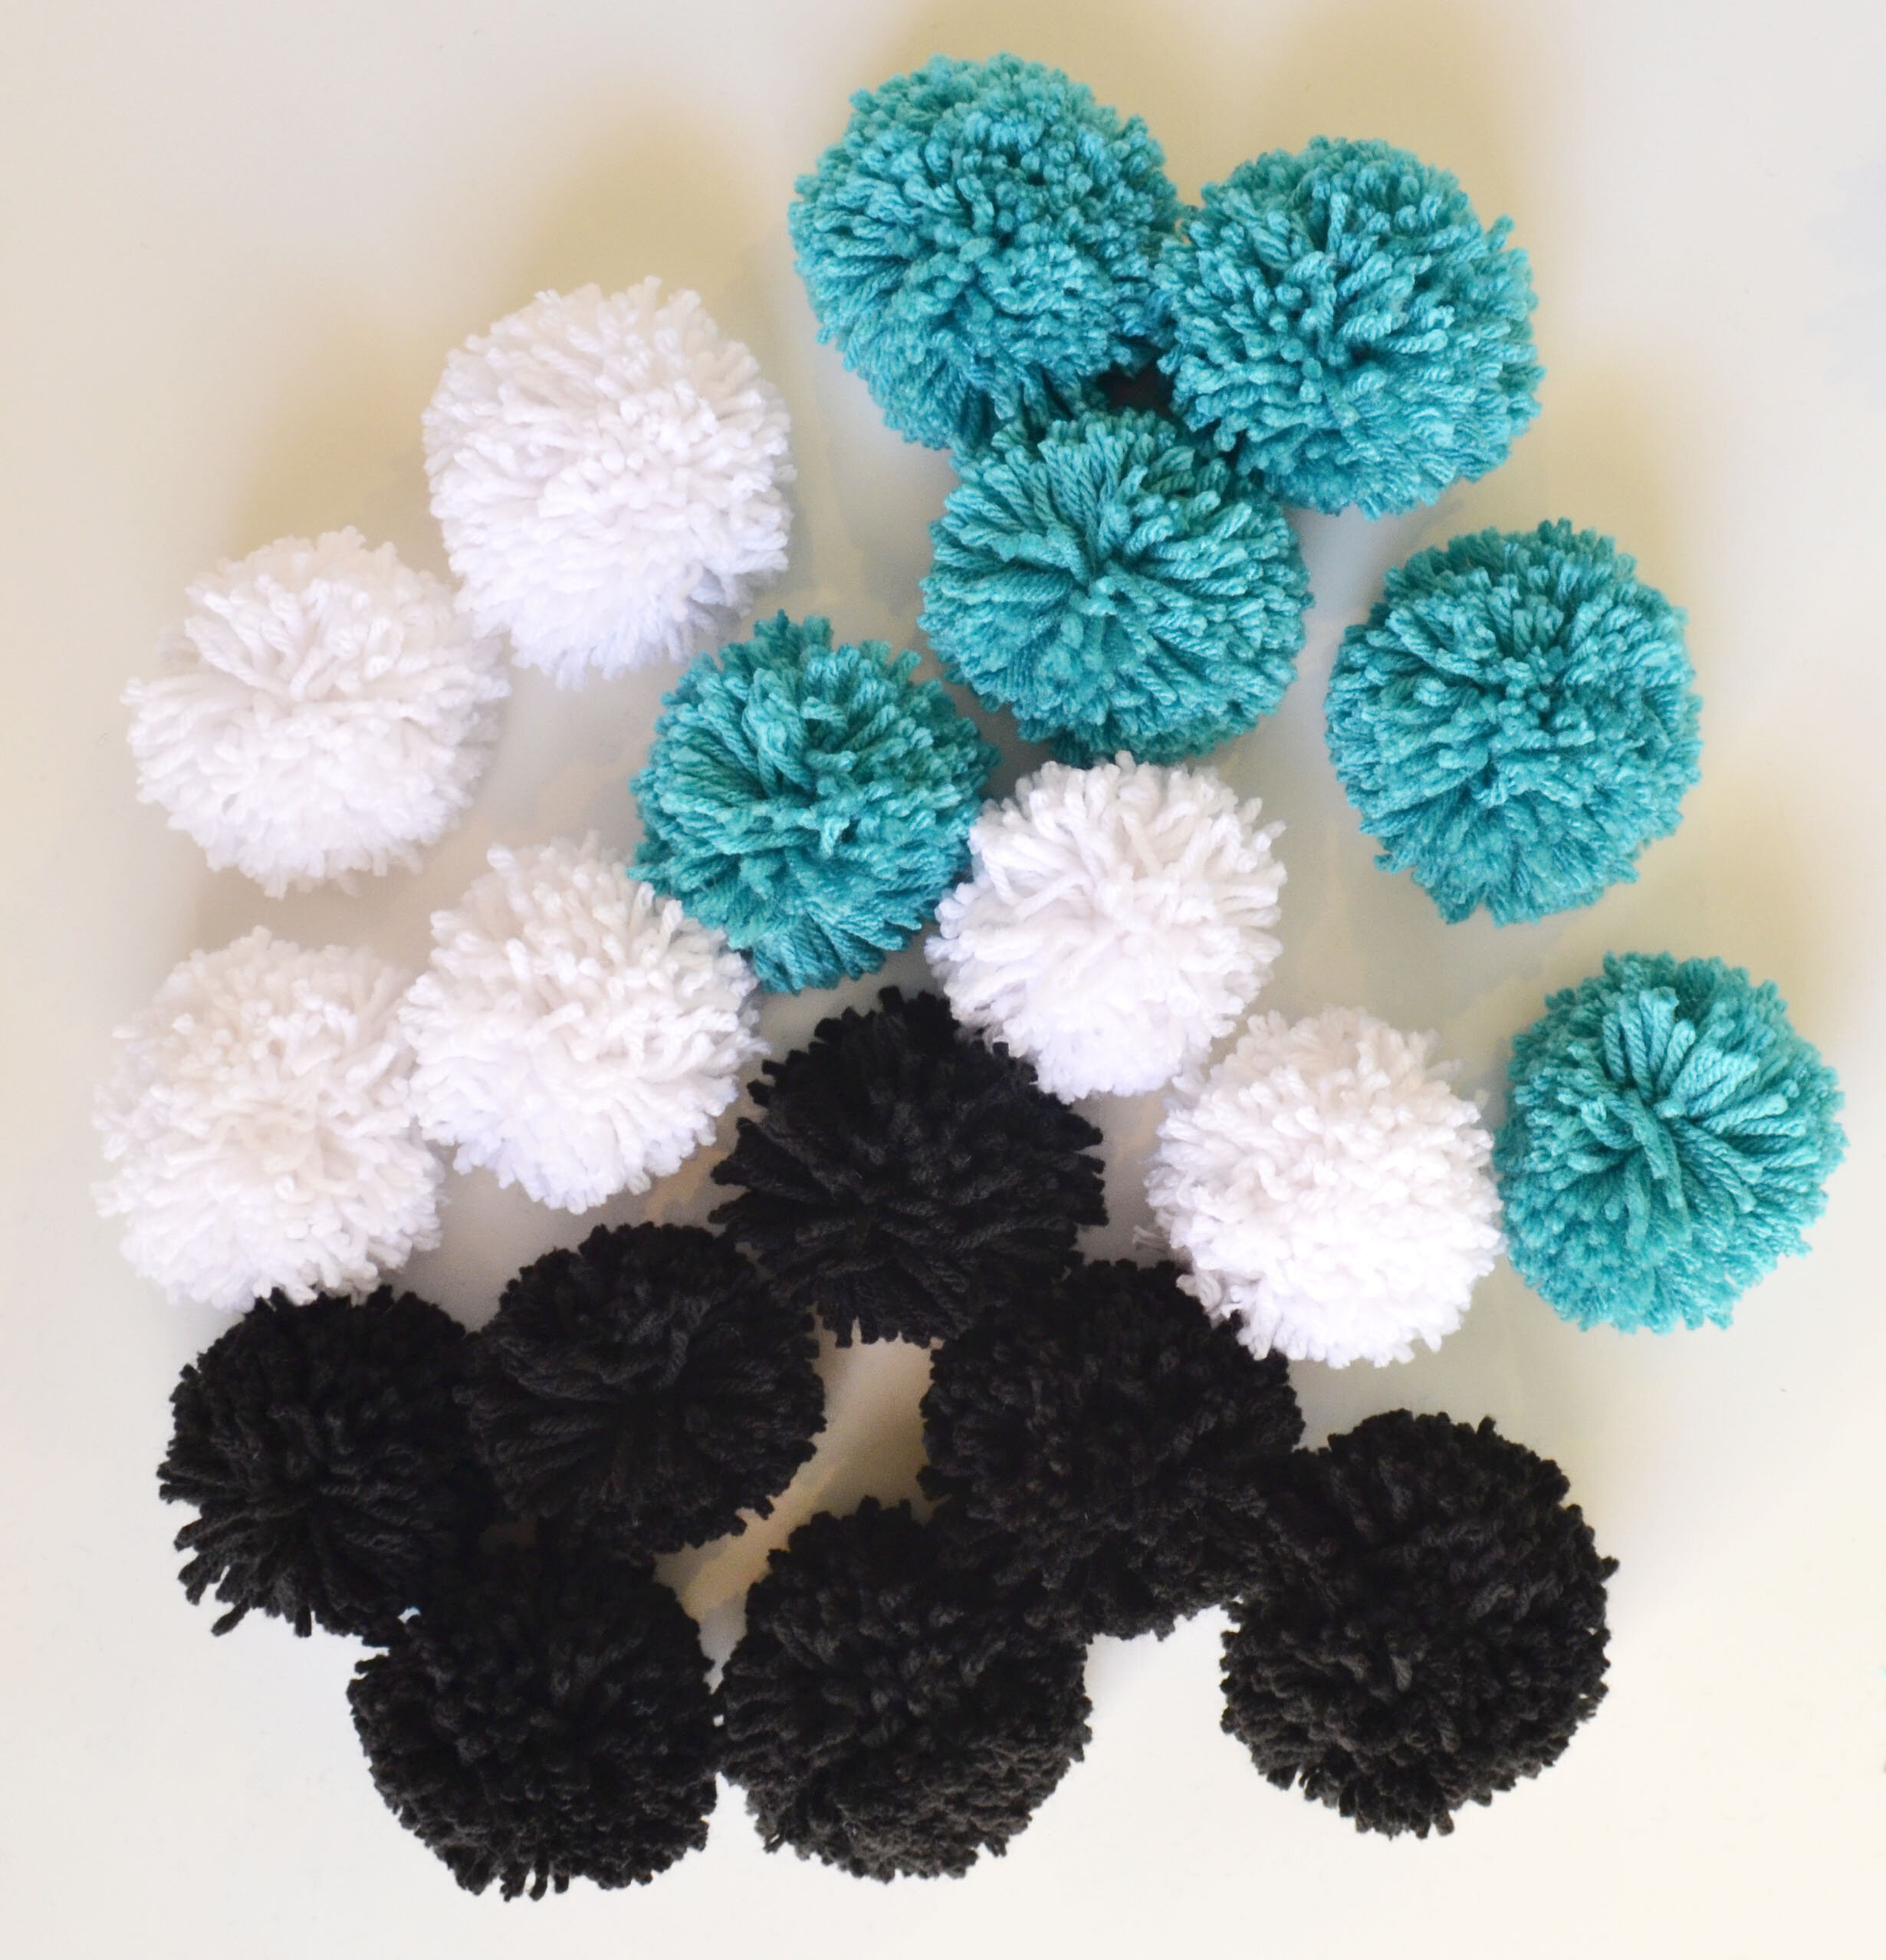
I gathered up a couple of balls of yarn, a pair of scissors, needle & thread and a pom-pom maker and we were in business.
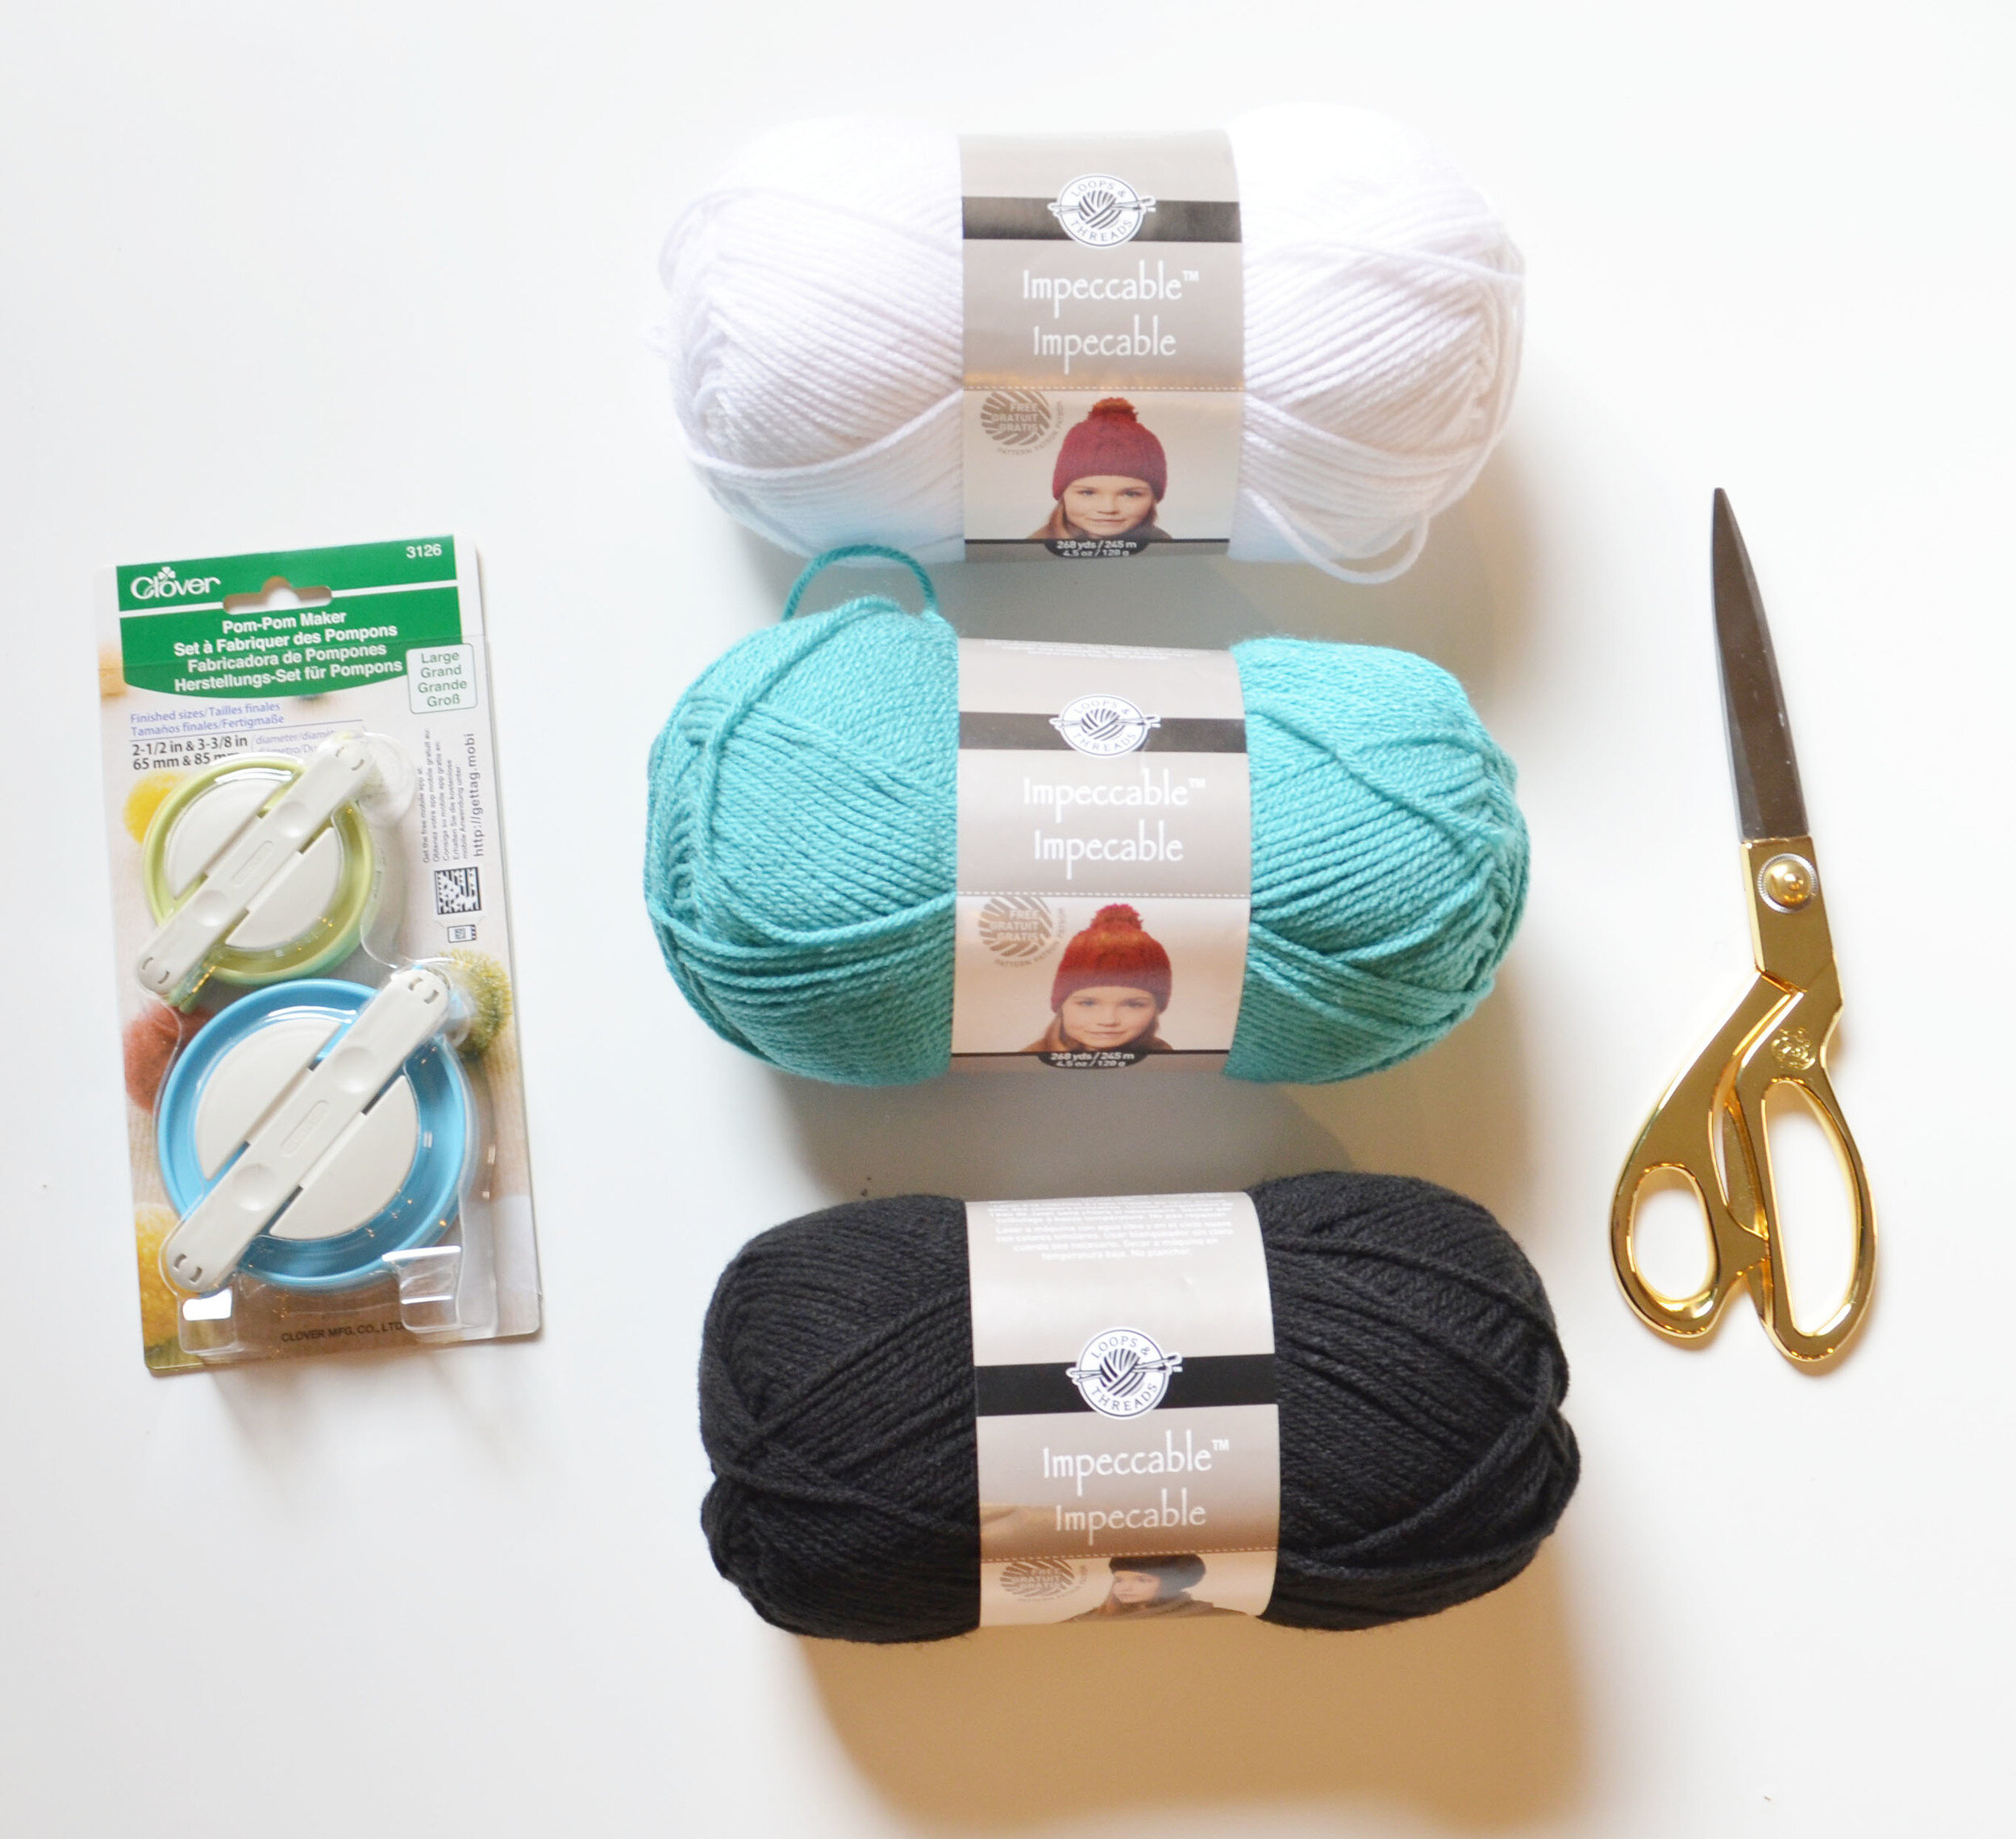
If you don't have a Clover pom-pom maker, you can make the yarn balls the old fashion way by wrapping the yarn around a piece of cardboard. I'll be honest this tool is a total timesaver and ensures your balls come out nice and even.
To begin, grab a ball of yarn and fully open the Clover.

Starting on either side, begin tightly wrapping the yarn around the colored portion of the Clover. Go back and fourth until you have wrapped the yarn 8 times on this side.
Fold in the wrapped side and begin wrapping 8 times on the other half of the Clover.
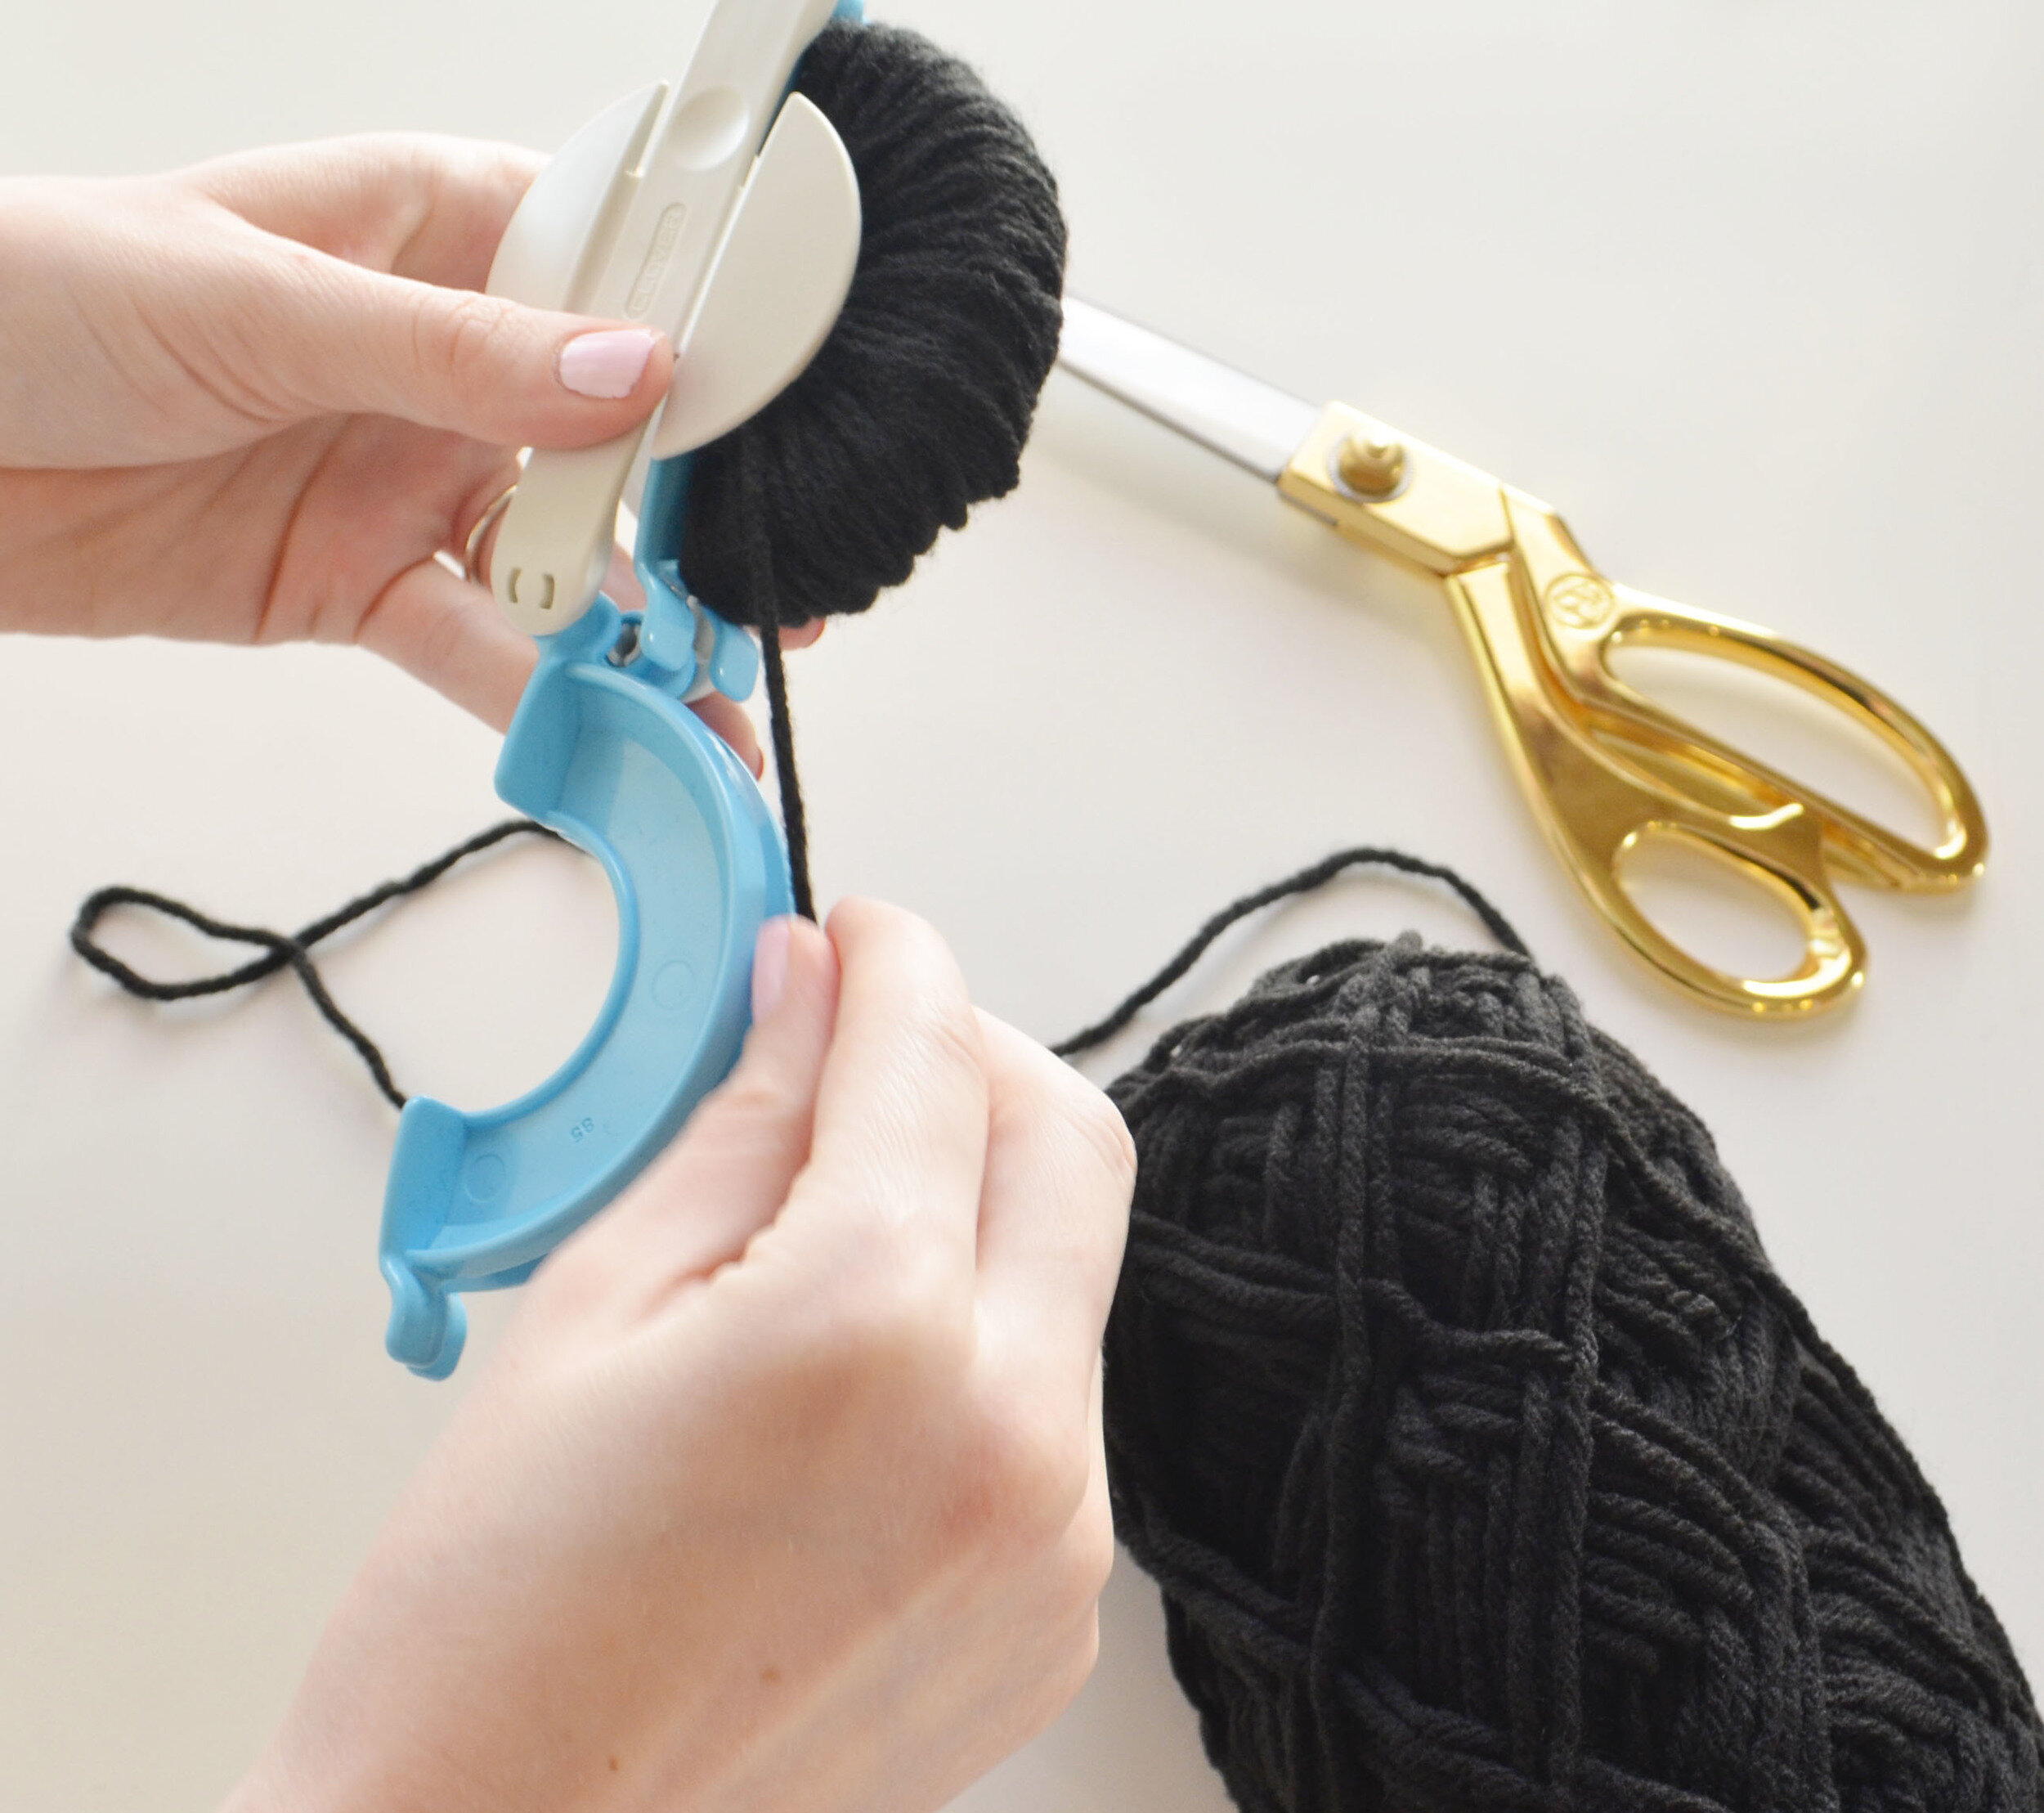

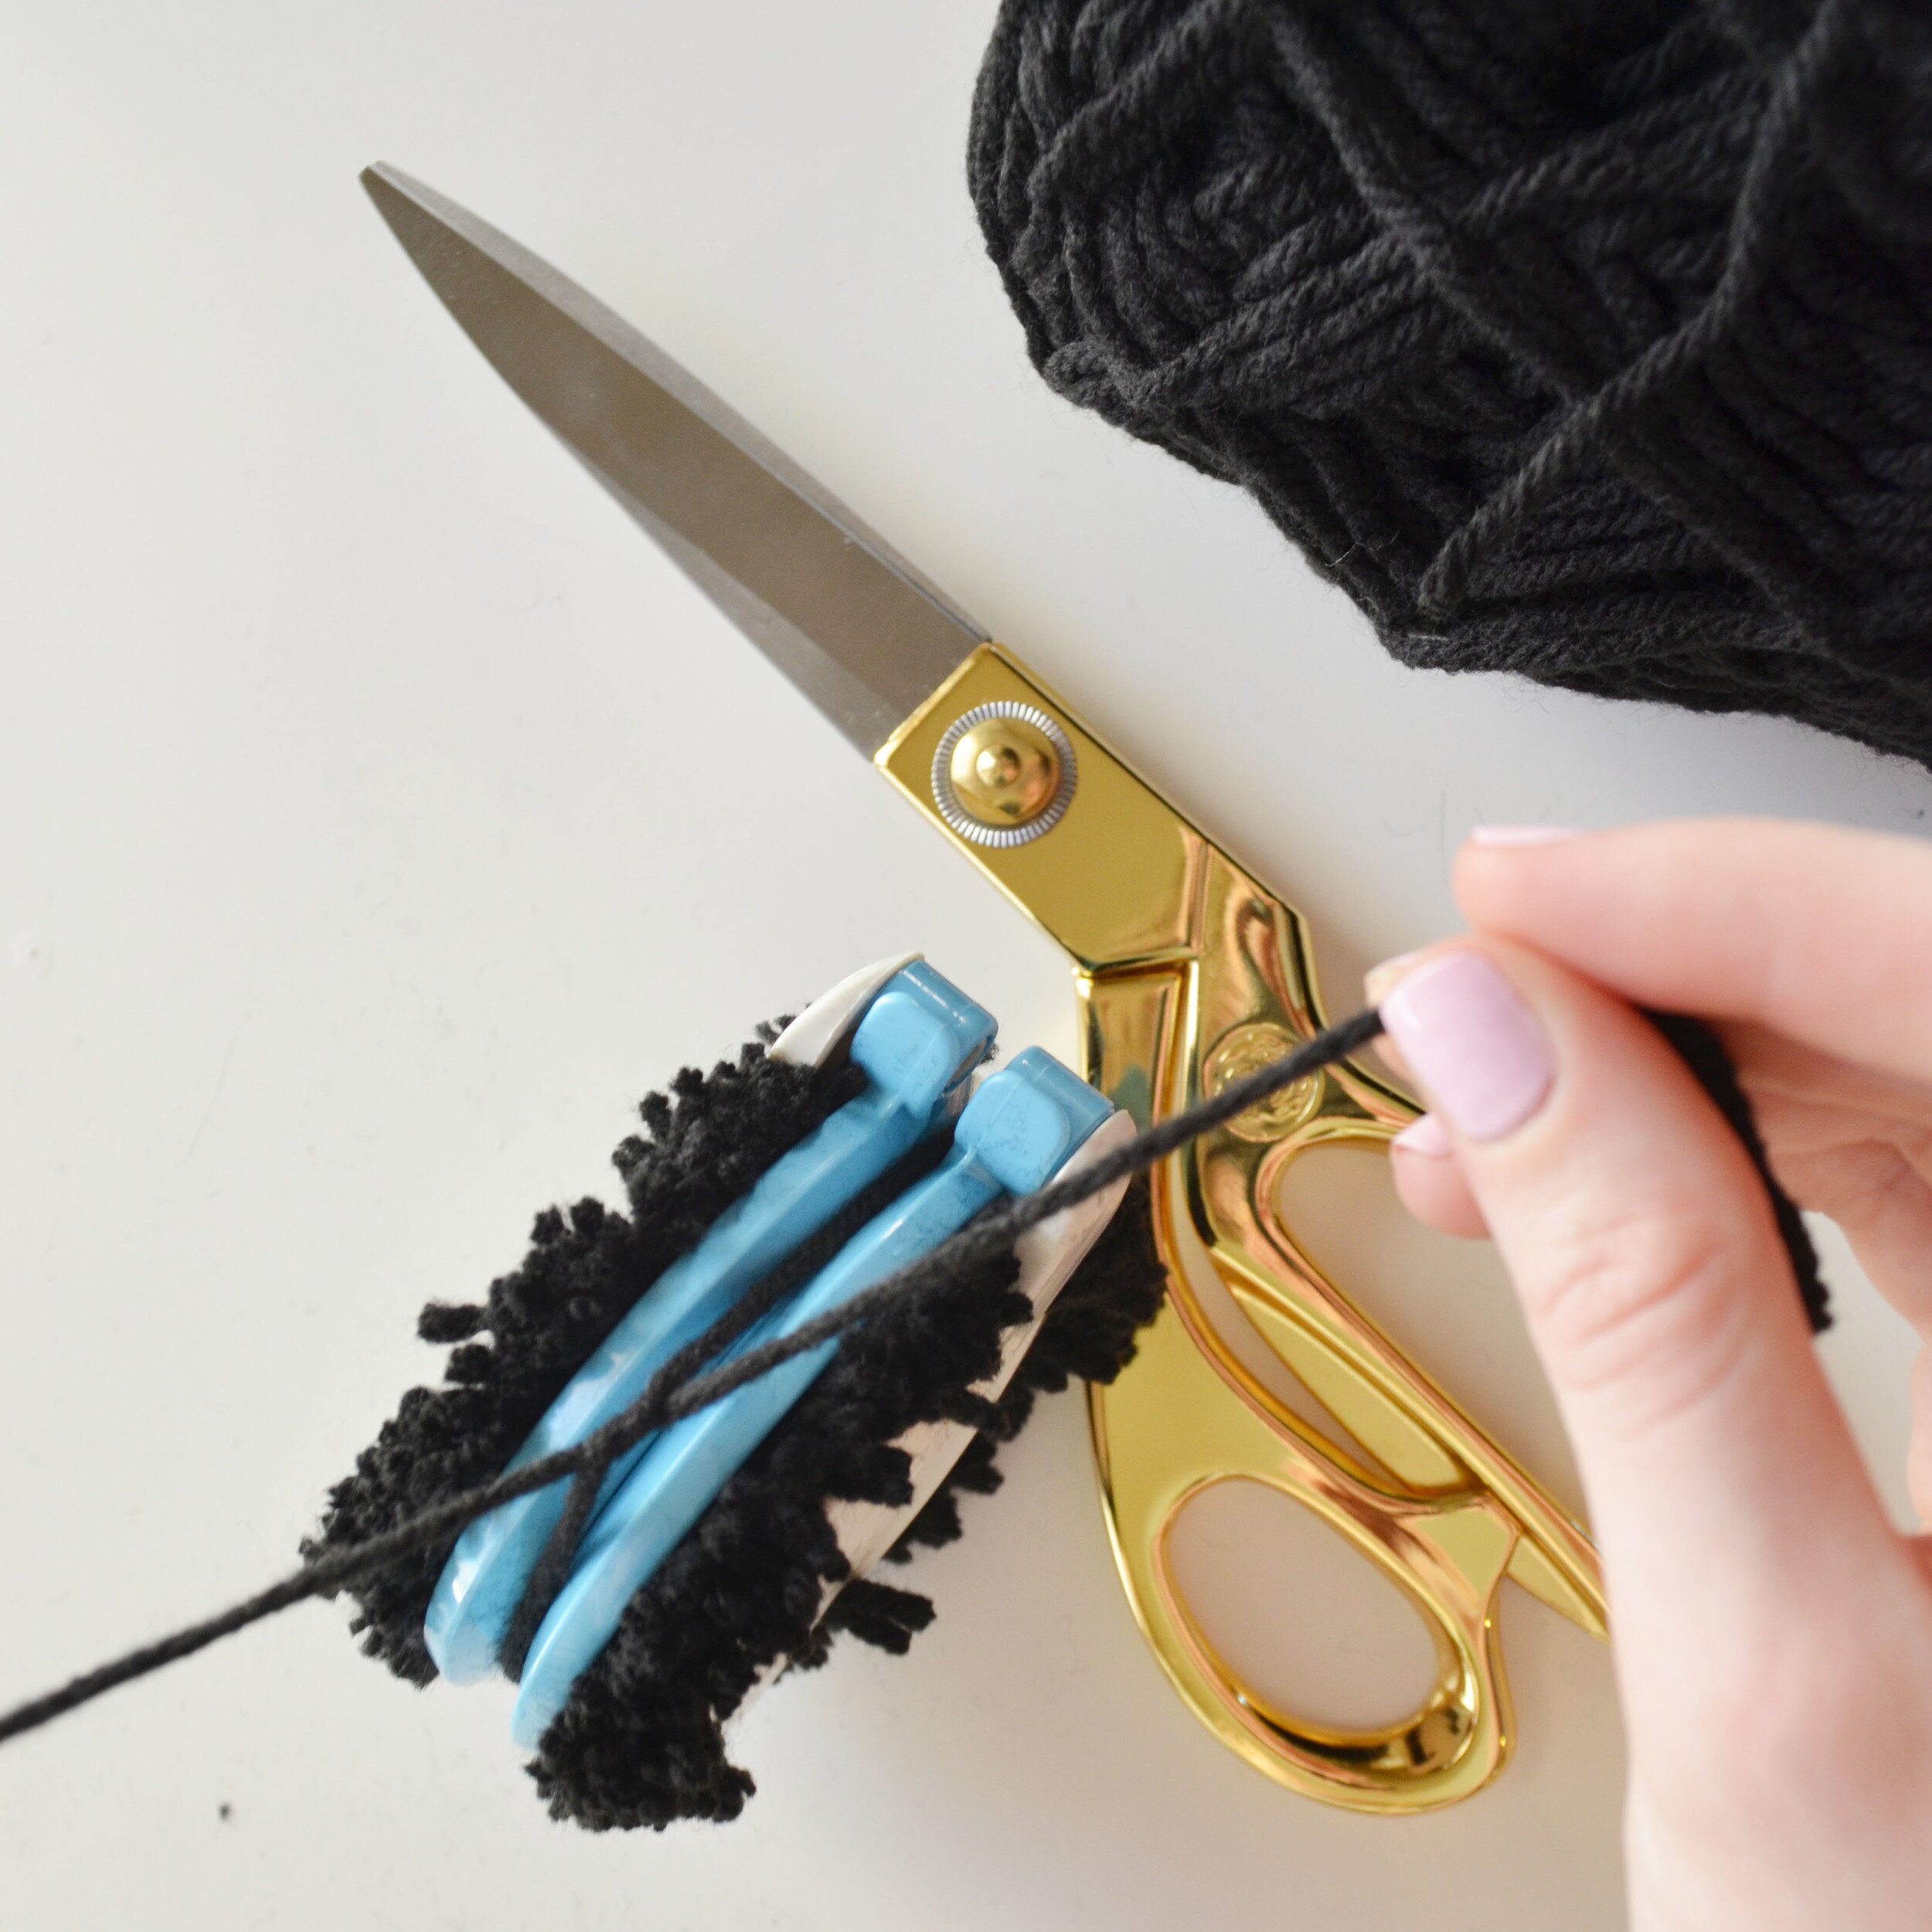
Encapsulate the clover and cut the yarn beginning at the gap between the arches.
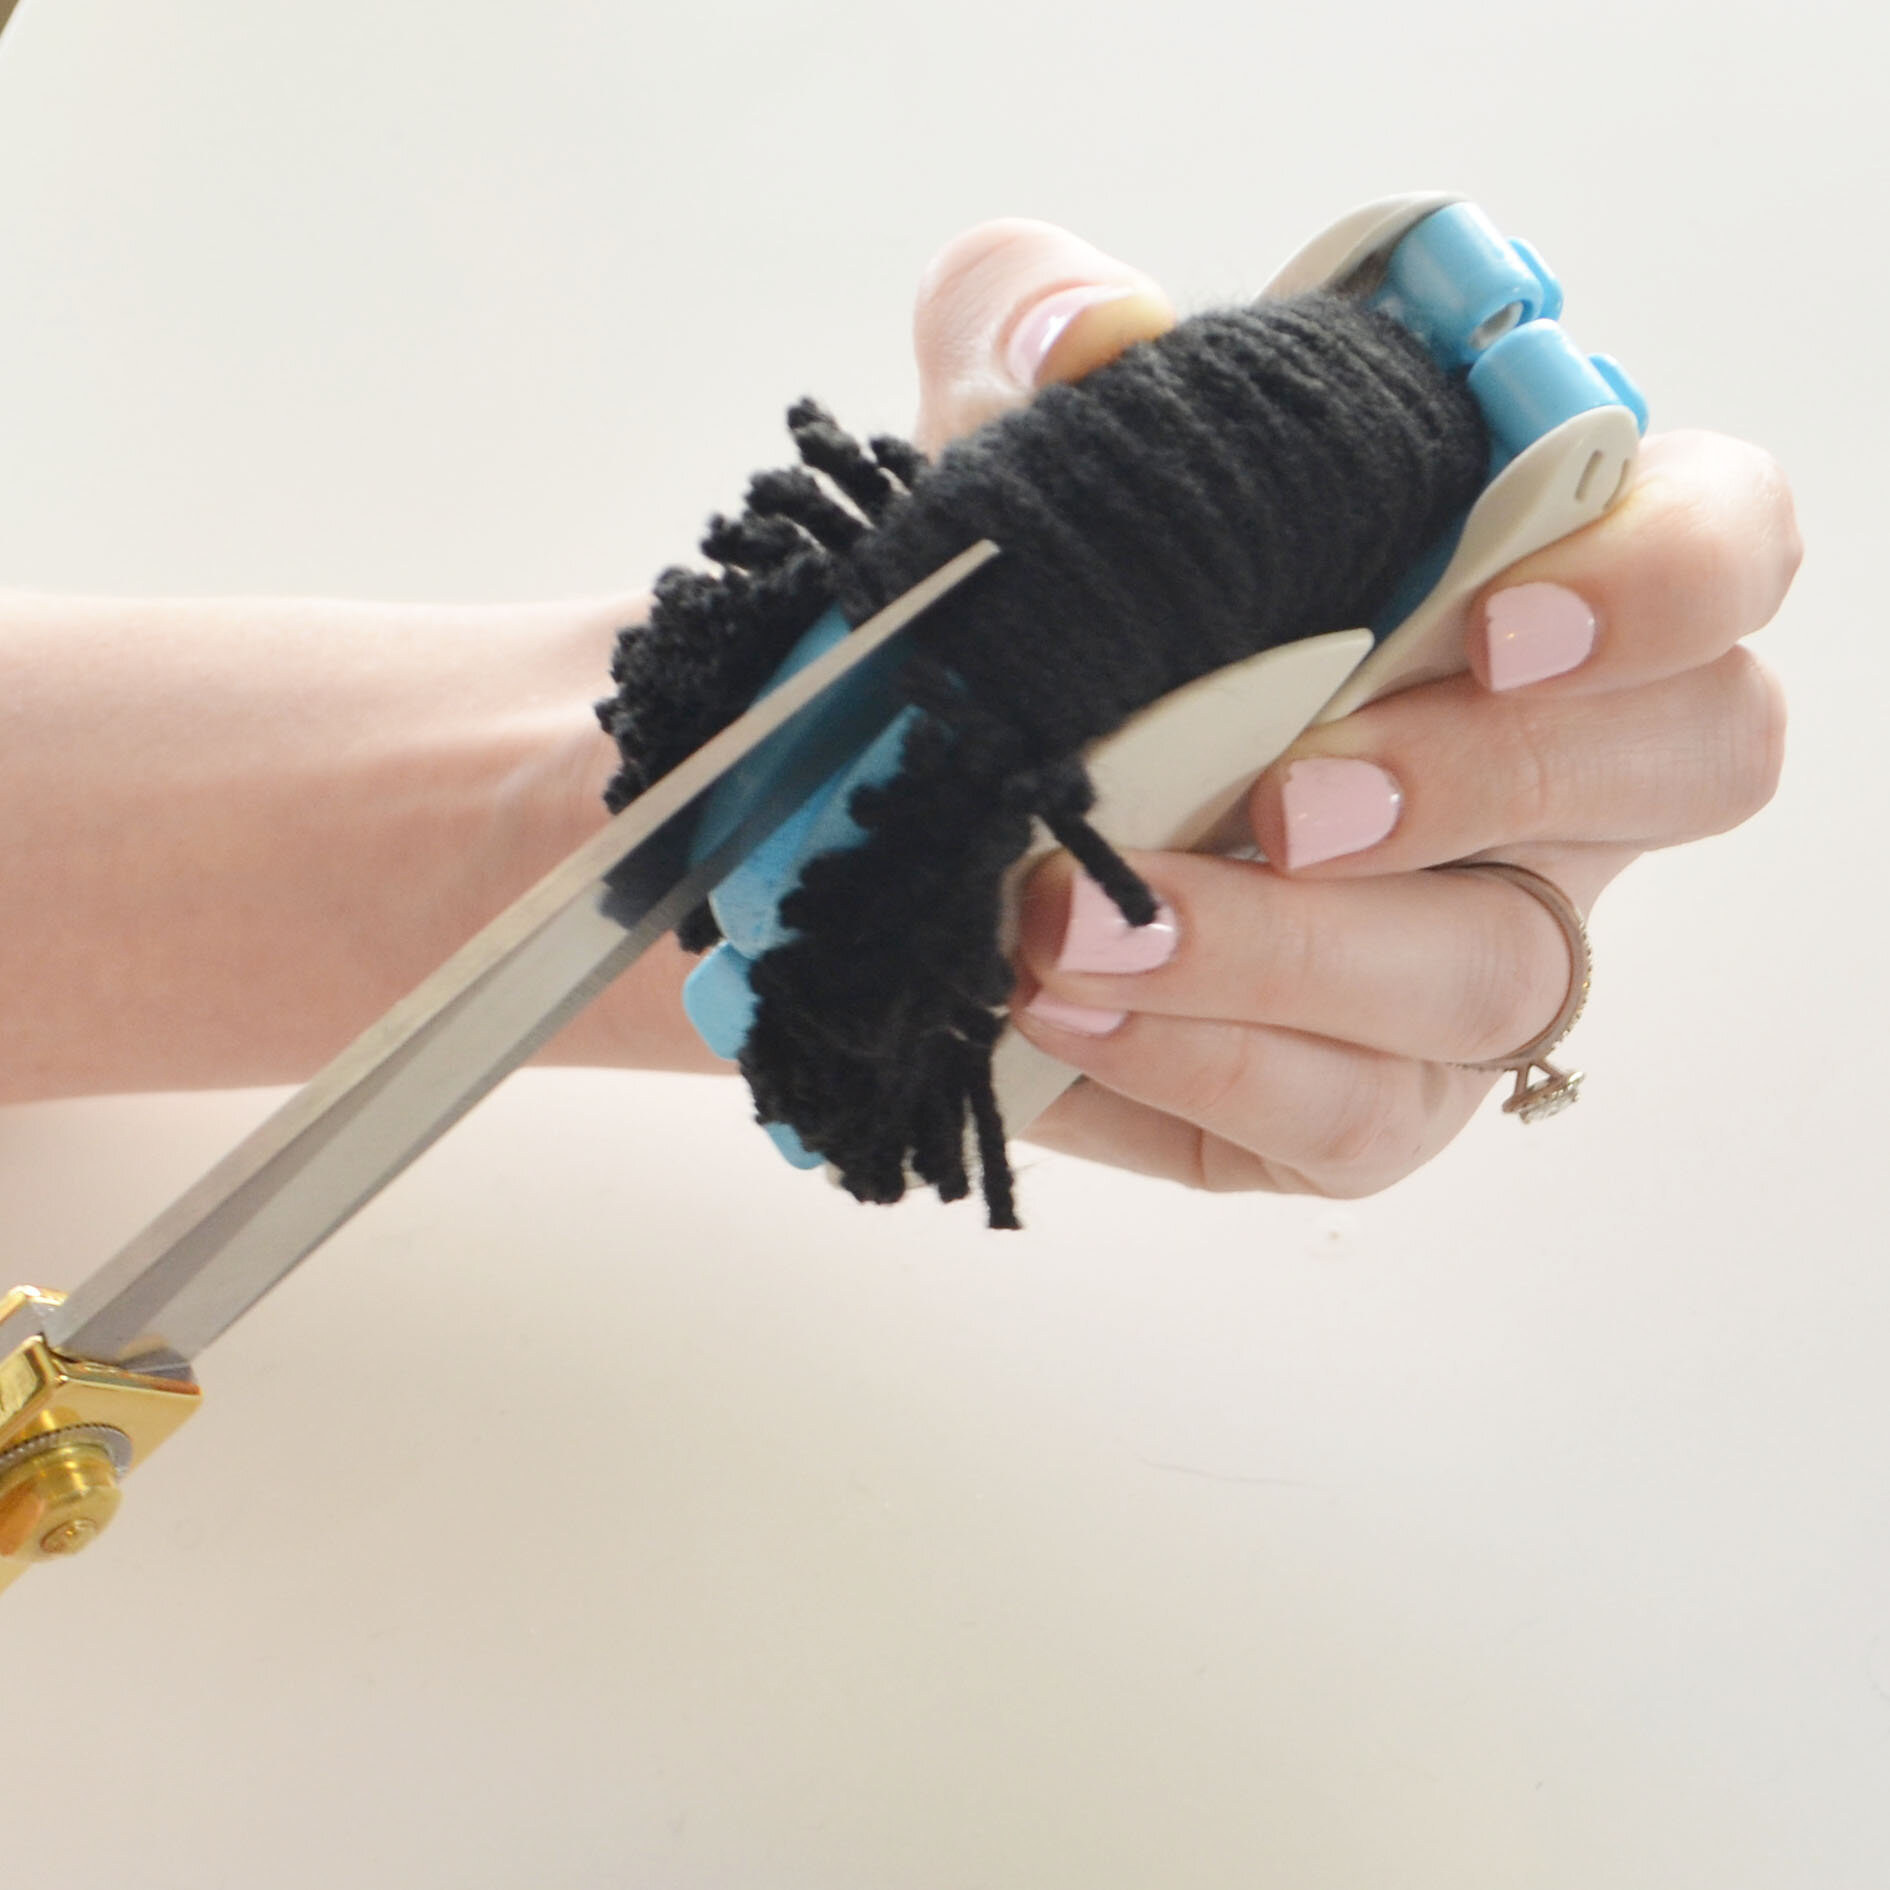
Take a spare piece of yarn and tightly tie the ball in place down the middle. Then open the arches and separate the two halves.
Fluff the ball and use scissors to trim any loose ends. Repeat these steps to create 18 yarn balls.

Once you have made all of the balls, simply take a needle and embroidery floss and thread through each ball. You can adjust the distance between them at the end.
Now the hard part, deciding where to hang your garland!
If you decide to make this garland, be sure to tag us on instagram so I can check it out!