
How To Build A Ball Pit (In a Closet)
With the addition of a little one to our home, we seem to be busting at the seams. We have been trying to get creative with our space, so we can stay put in our little abode a few more years.
Since a full playroom is out of the question for now, we are in the process of converting our under-the-stairs closet into a mini play space. It is perfectly positioned between our kitchen and living room, where we spend nearly all of our time. Having a special little place for Brody (and his gear) in this prime location will hopefully be a lot of fun for us all.
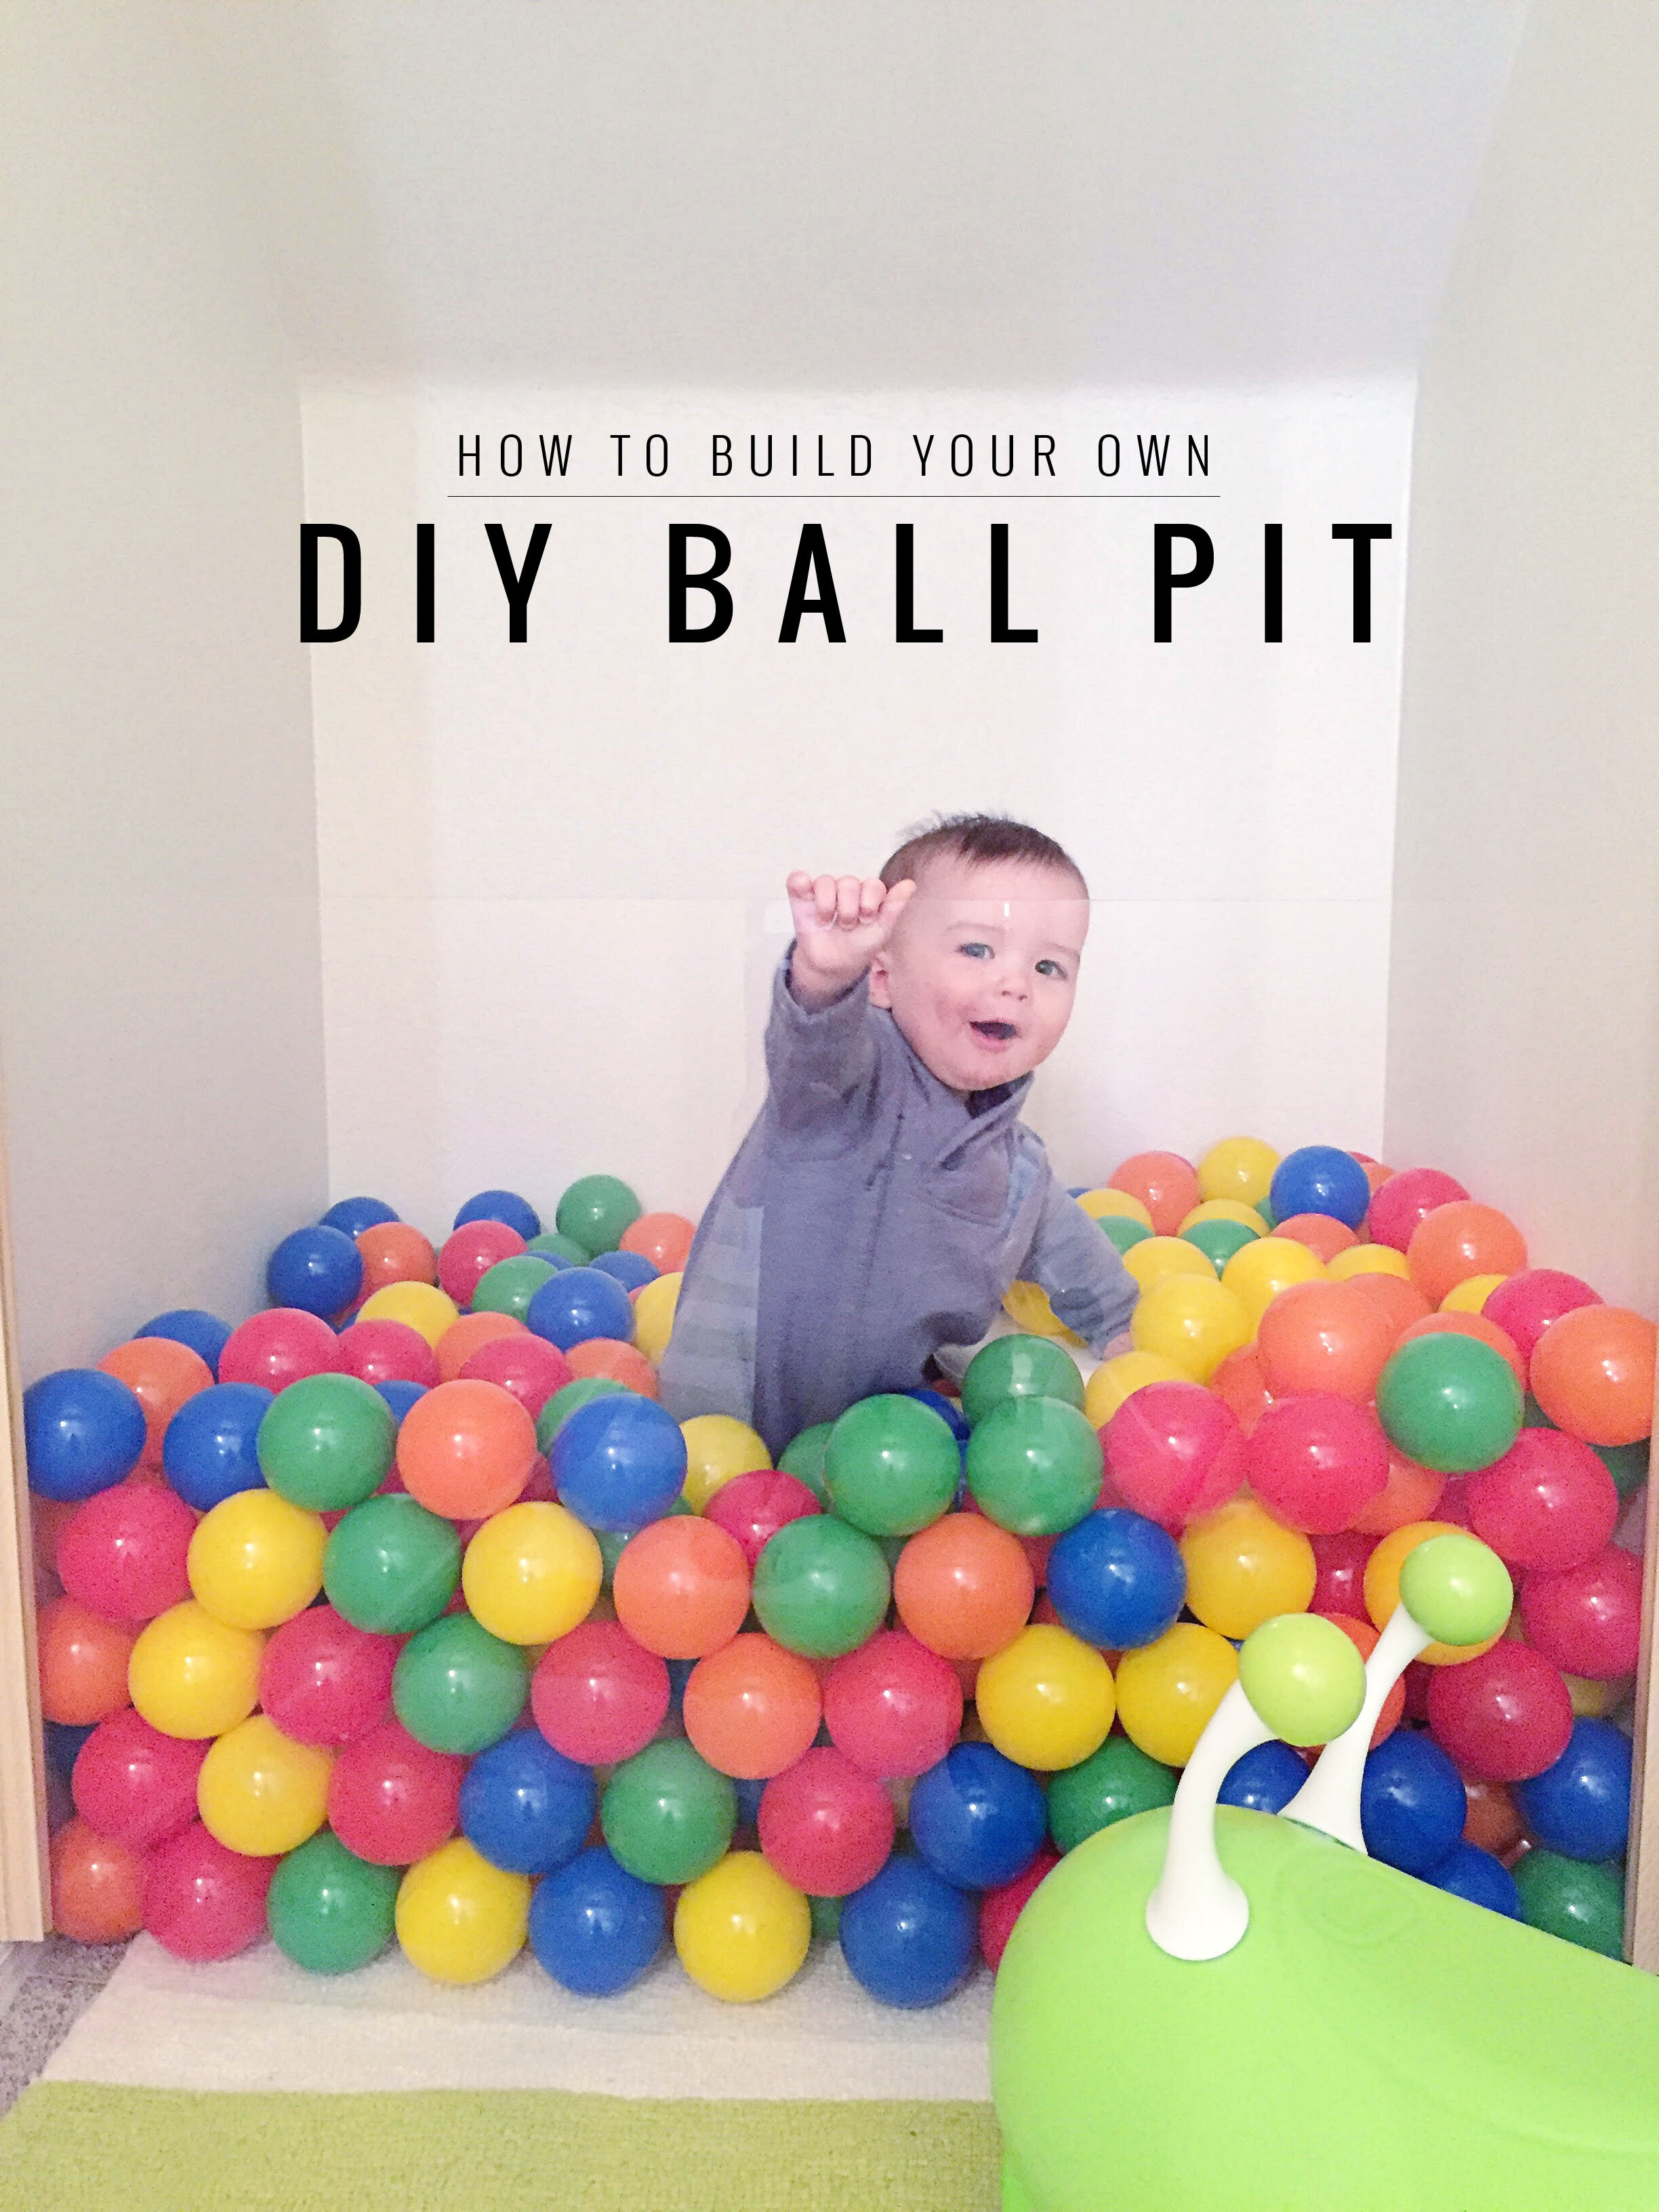
I'll be sharing a lot more about the play space as we continue working on it, but in the meantime I wanted to share our first DIY project for the little closet--a built in ball pit. I was inspired by this motivational video I came across on Pinterest. A ball pit has got to be the greatest way to make a new friend, right?
With one trip to Home Depot, a few tools, and what seems like a billion balls, Brody now has a fun ball pit in the back of his little play space.
Here are the details on how we built it.

Supplies
- 4 pieces of Pine Corner Trim
- 500 Ball Pit Balls (we used this brand which we bought locally because they don't crush and lack some of the chemicals that other balls are made with)
- Sandpaper
- 8 Screws
- 1 Piece of Acrylic (we ordered a custom piece 36"x24" from this site in 1/8" thickness. Would probably recommend 3/16" thickness)
- Drill
Steps
1. Measure the space you would like to use for the ball pit.
2. Cut corner trim from the hardware store into 4-pieces measuring the same height as your Acrylic.
3. Sand the 4 pieces of corner trim.
4. Measure the distance from the back wall to where you want your ball pit to begin and mark on the walls (ours is 27").
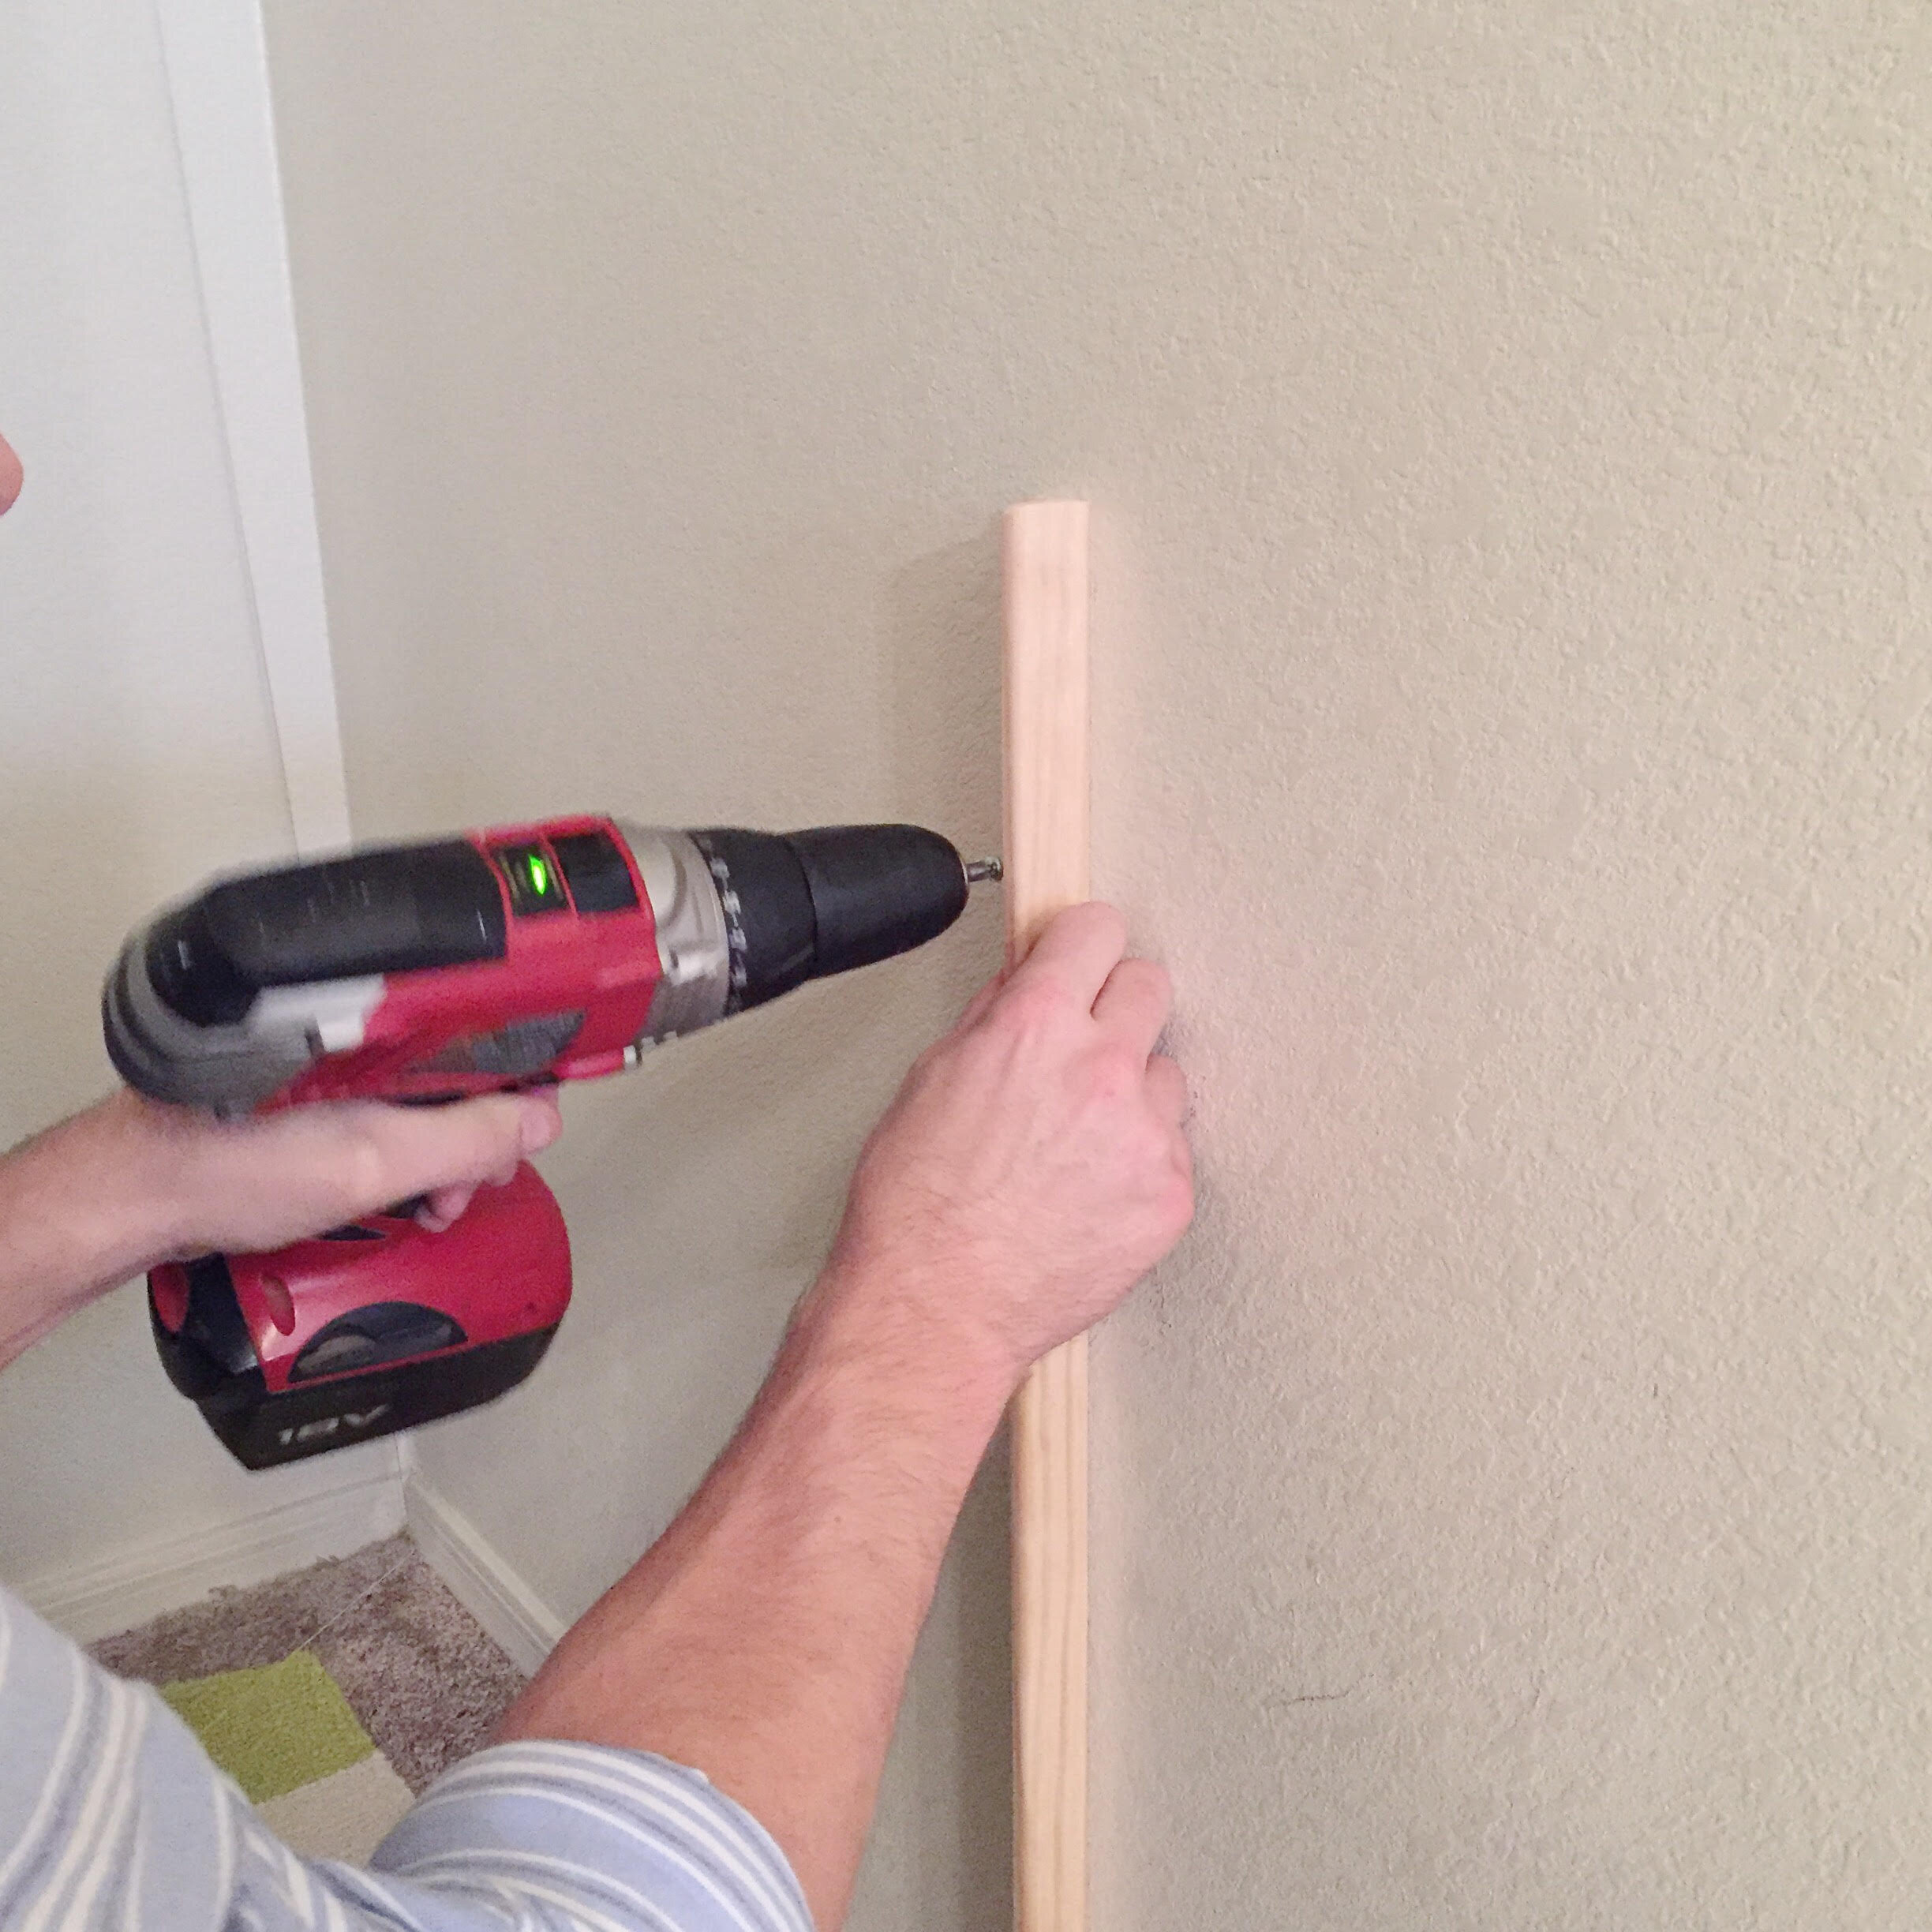
5. Drill the two pieces of trim into one side of the wall with a space the width of the acrylic between. (see photo below).
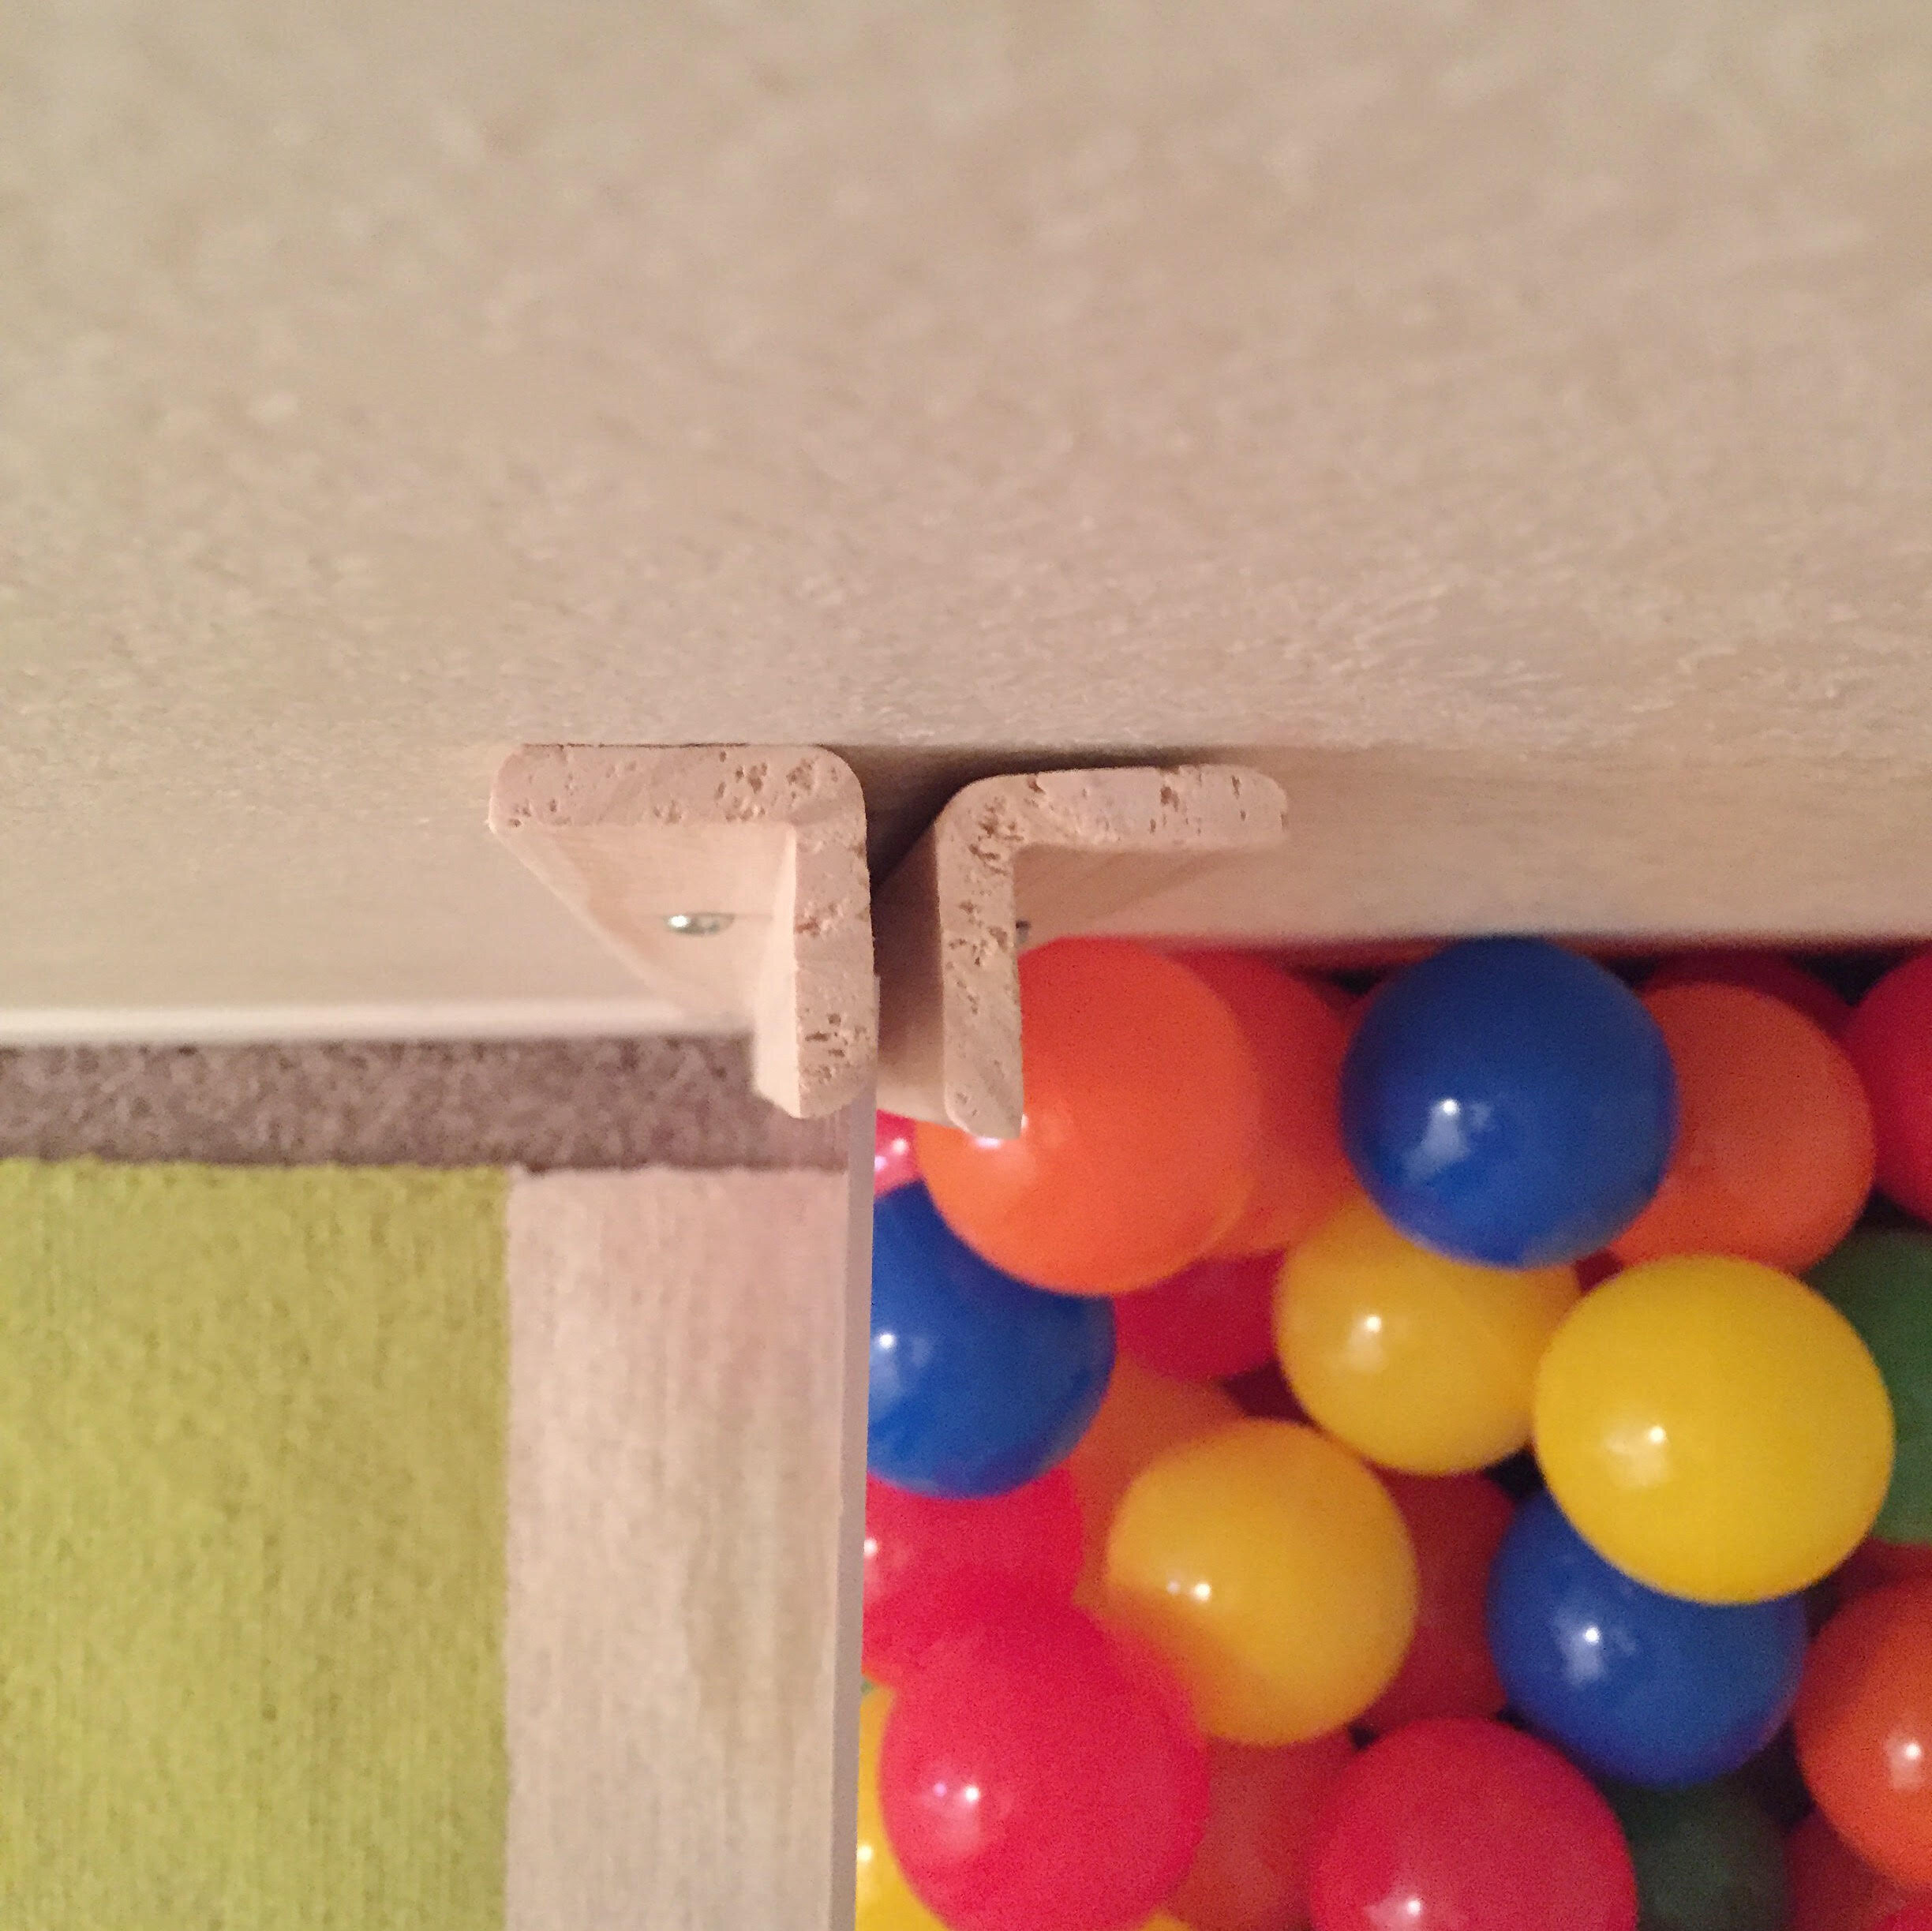
6. Repeat on other side.
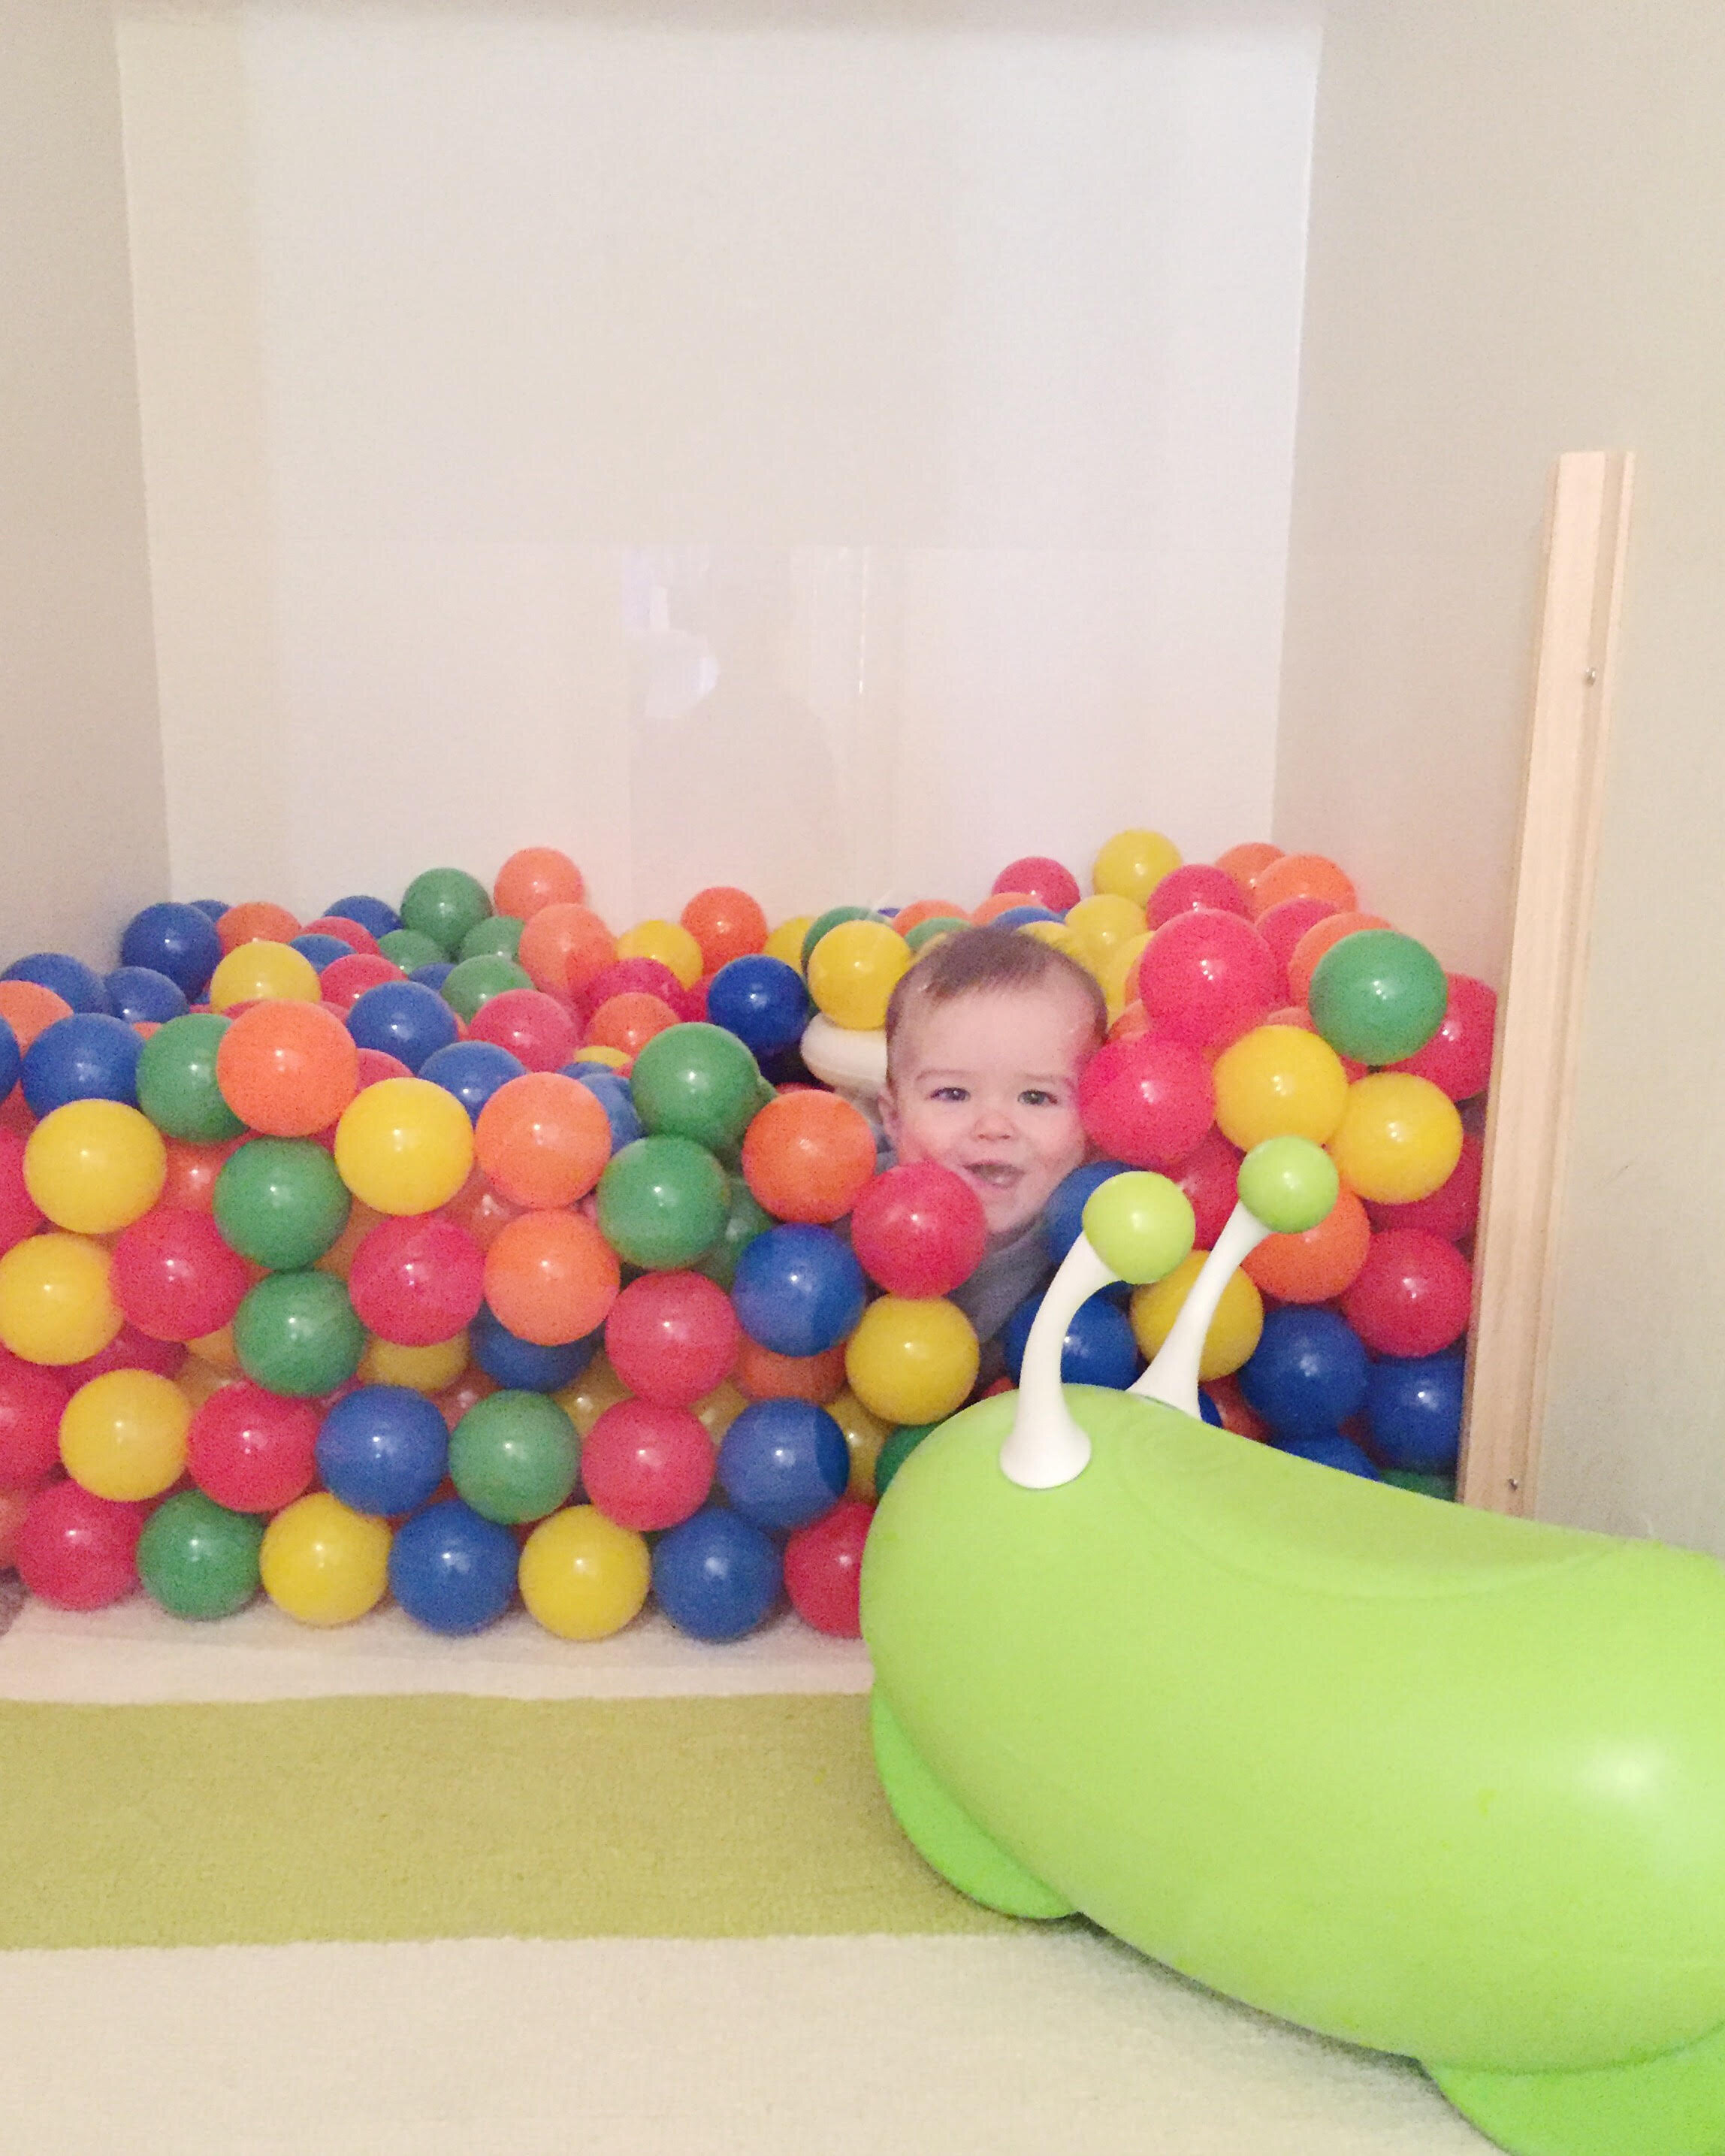
7. Slide in sheet of acrylic
8. Fill with balls!
Side Notes
If you don't have a saw, Home Depot has a table and hand saw you can use in the store.
Also, the trim prices are per foot, not per piece.
The Acrylic edge can be a bit sharp. We sanded it down and may add an edge coating to it in the future.
We put a little stool in the middle of the ball pit so Brody would be able to have something his height to hold onto when standing.
As always, make sure you keep a close eye on your little one when they are using the ball pit.
Have a Ball!